
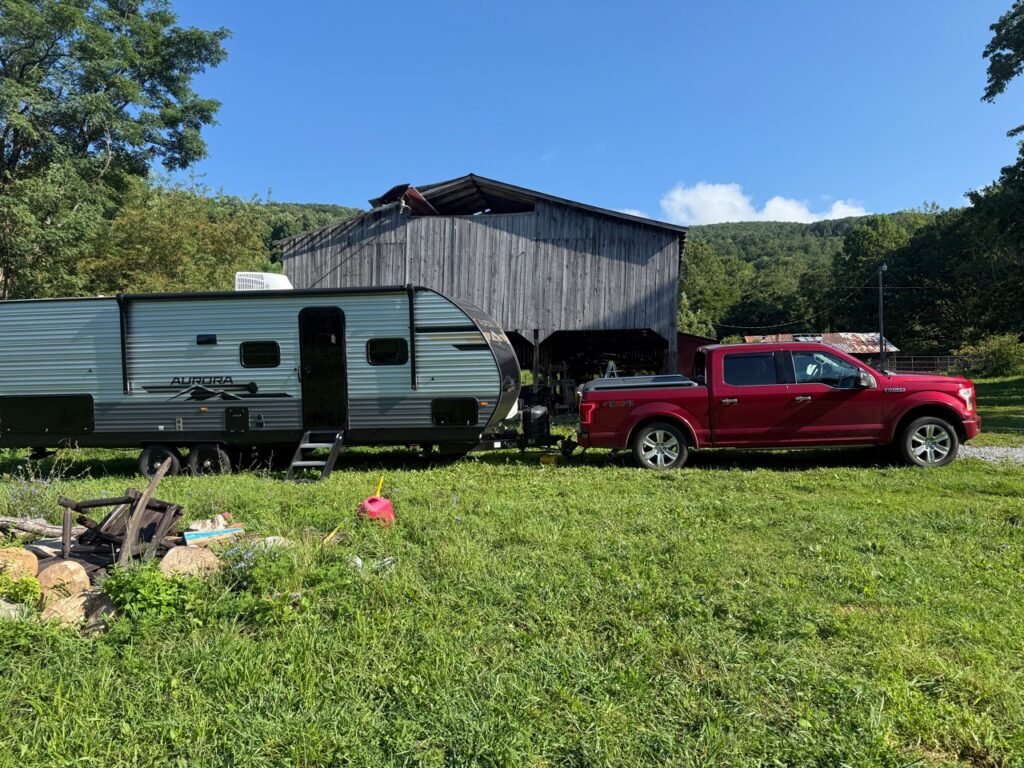
The final five minutes before an RV trip can undo an hour of careful packing.
The family is in the truck. Lily wants to know when we will stop for a snack. Happy and Dolly have found their preferred seats. Sami has already asked whether I checked the refrigerator. I am thinking about traffic, fuel, and the campground arrival.
That is exactly when a step, vent, compartment door, power cord, hitch pin, or loose item is easiest to miss.
Our answer is one quiet final walkaround after the camper is packed and hitched. It is not a substitute for the manuals or inspections that apply to our truck, trailer, hitch, tires, brakes, and accessories. It is simply our last chance to notice something that changed while we were getting ready.
Why the final lap is separate from packing
Packing answers: “Did we bring it?”
The departure walkaround answers: “Is the rig ready to move?”
Those are different jobs. A packed coffee maker does not confirm that an exterior compartment is latched. A completed meal plan does not verify trailer lights. A beautiful campsite checklist does not tell us whether someone opened a window after the checklist was finished.
We do the final lap only after normal packing, hitching, and equipment-specific procedures are complete.
Before the walkaround: make the area calm
We want one adult focused on the inspection instead of trying to load the last bag, answer three questions, and check the hitch at the same time.
Before the lap:
- the truck is parked securely;
- the camper is fully packed for travel;
- Lily and the dogs are secured away from the hitching and traffic area;
- campground utilities are disconnected and stored when leaving a site;
- loose outdoor equipment is packed; and
- phones and conversations wait unless they are part of the light check.
If someone interrupts the walkaround, we restart at a known point instead of guessing where we stopped.
Pass 1: Start inside the camper
We begin at the entry door and make a deliberate loop through the interior.
We check that:
- people and pets are out of the trailer before travel;
- loose items are stored where they cannot fall or slide;
- cabinet doors, drawers, and interior doors are secured;
- countertops, tables, beds, and floors are clear of travel hazards;
- windows, roof vents, and skylights are in their correct travel position;
- appliances and systems are set for travel according to their instructions;
- the refrigerator and freezer are closed and secured;
- water fixtures are off and no unexpected leak is visible;
- the bathroom is secured; and
- the entry door and screen door close and latch correctly.
We do not publish one universal instruction for propane, refrigerators, batteries, water heaters, generators, or slides because equipment and travel rules differ. We follow the manuals and current rules for our exact equipment and route.
Pass 2: Clear the campsite or parking area
At a campground, we look underneath and around the trailer before checking the hitch.
We confirm that:
- electrical, water, sewer, cable, and other site connections are disconnected;
- cords, hoses, regulators, filters, adapters, supports, and protective equipment are stored;
- stabilizers, approved jack equipment, and leveling accessories are returned to their required travel positions;
- wheel chocks and leveling equipment are removed only in the correct sequence for the trailer and hitching process;
- steps are retracted or secured;
- awnings and exterior shades are fully stored;
- chairs, mats, dog equipment, toys, trash, and cooking gear are packed; and
- nothing remains under the trailer, behind the tires, on the roof, or at the utility pedestal.
We also look at the site we are leaving. It should not contain our trash, hose washers, small blocks, zip ties, food, or anything the next family has to clean up.
Pass 3: Inspect the trailer exterior
We walk slowly enough to touch the items that should be latched instead of only glancing at them.
We check:
- entry doors, baggage doors, outdoor kitchens, and access panels;
- windows, vents, awnings, antennas, ladders, and mounted accessories;
- slide rooms and seals in their correct travel position;
- exterior lights, lenses, reflectors, and license plate;
- tires for visible damage, unusual bulges, embedded objects, or other concerns;
- tire pressure using the correct cold-pressure and load information for the trailer and tires;
- wheels, lug hardware, hubs, and suspension areas for anything visibly abnormal;
- underbody areas for hanging wires, loose material, leaks, or displaced components; and
- cargo, bicycles, covers, and accessories for secure attachment and adequate clearance.
If something looks different from the previous trip, we stop and investigate. The final walkaround is not the time to talk ourselves into ignoring a warning sign.
Pass 4: Verify the connection between truck and trailer
The hitch area deserves its own pause because several separate systems meet there.
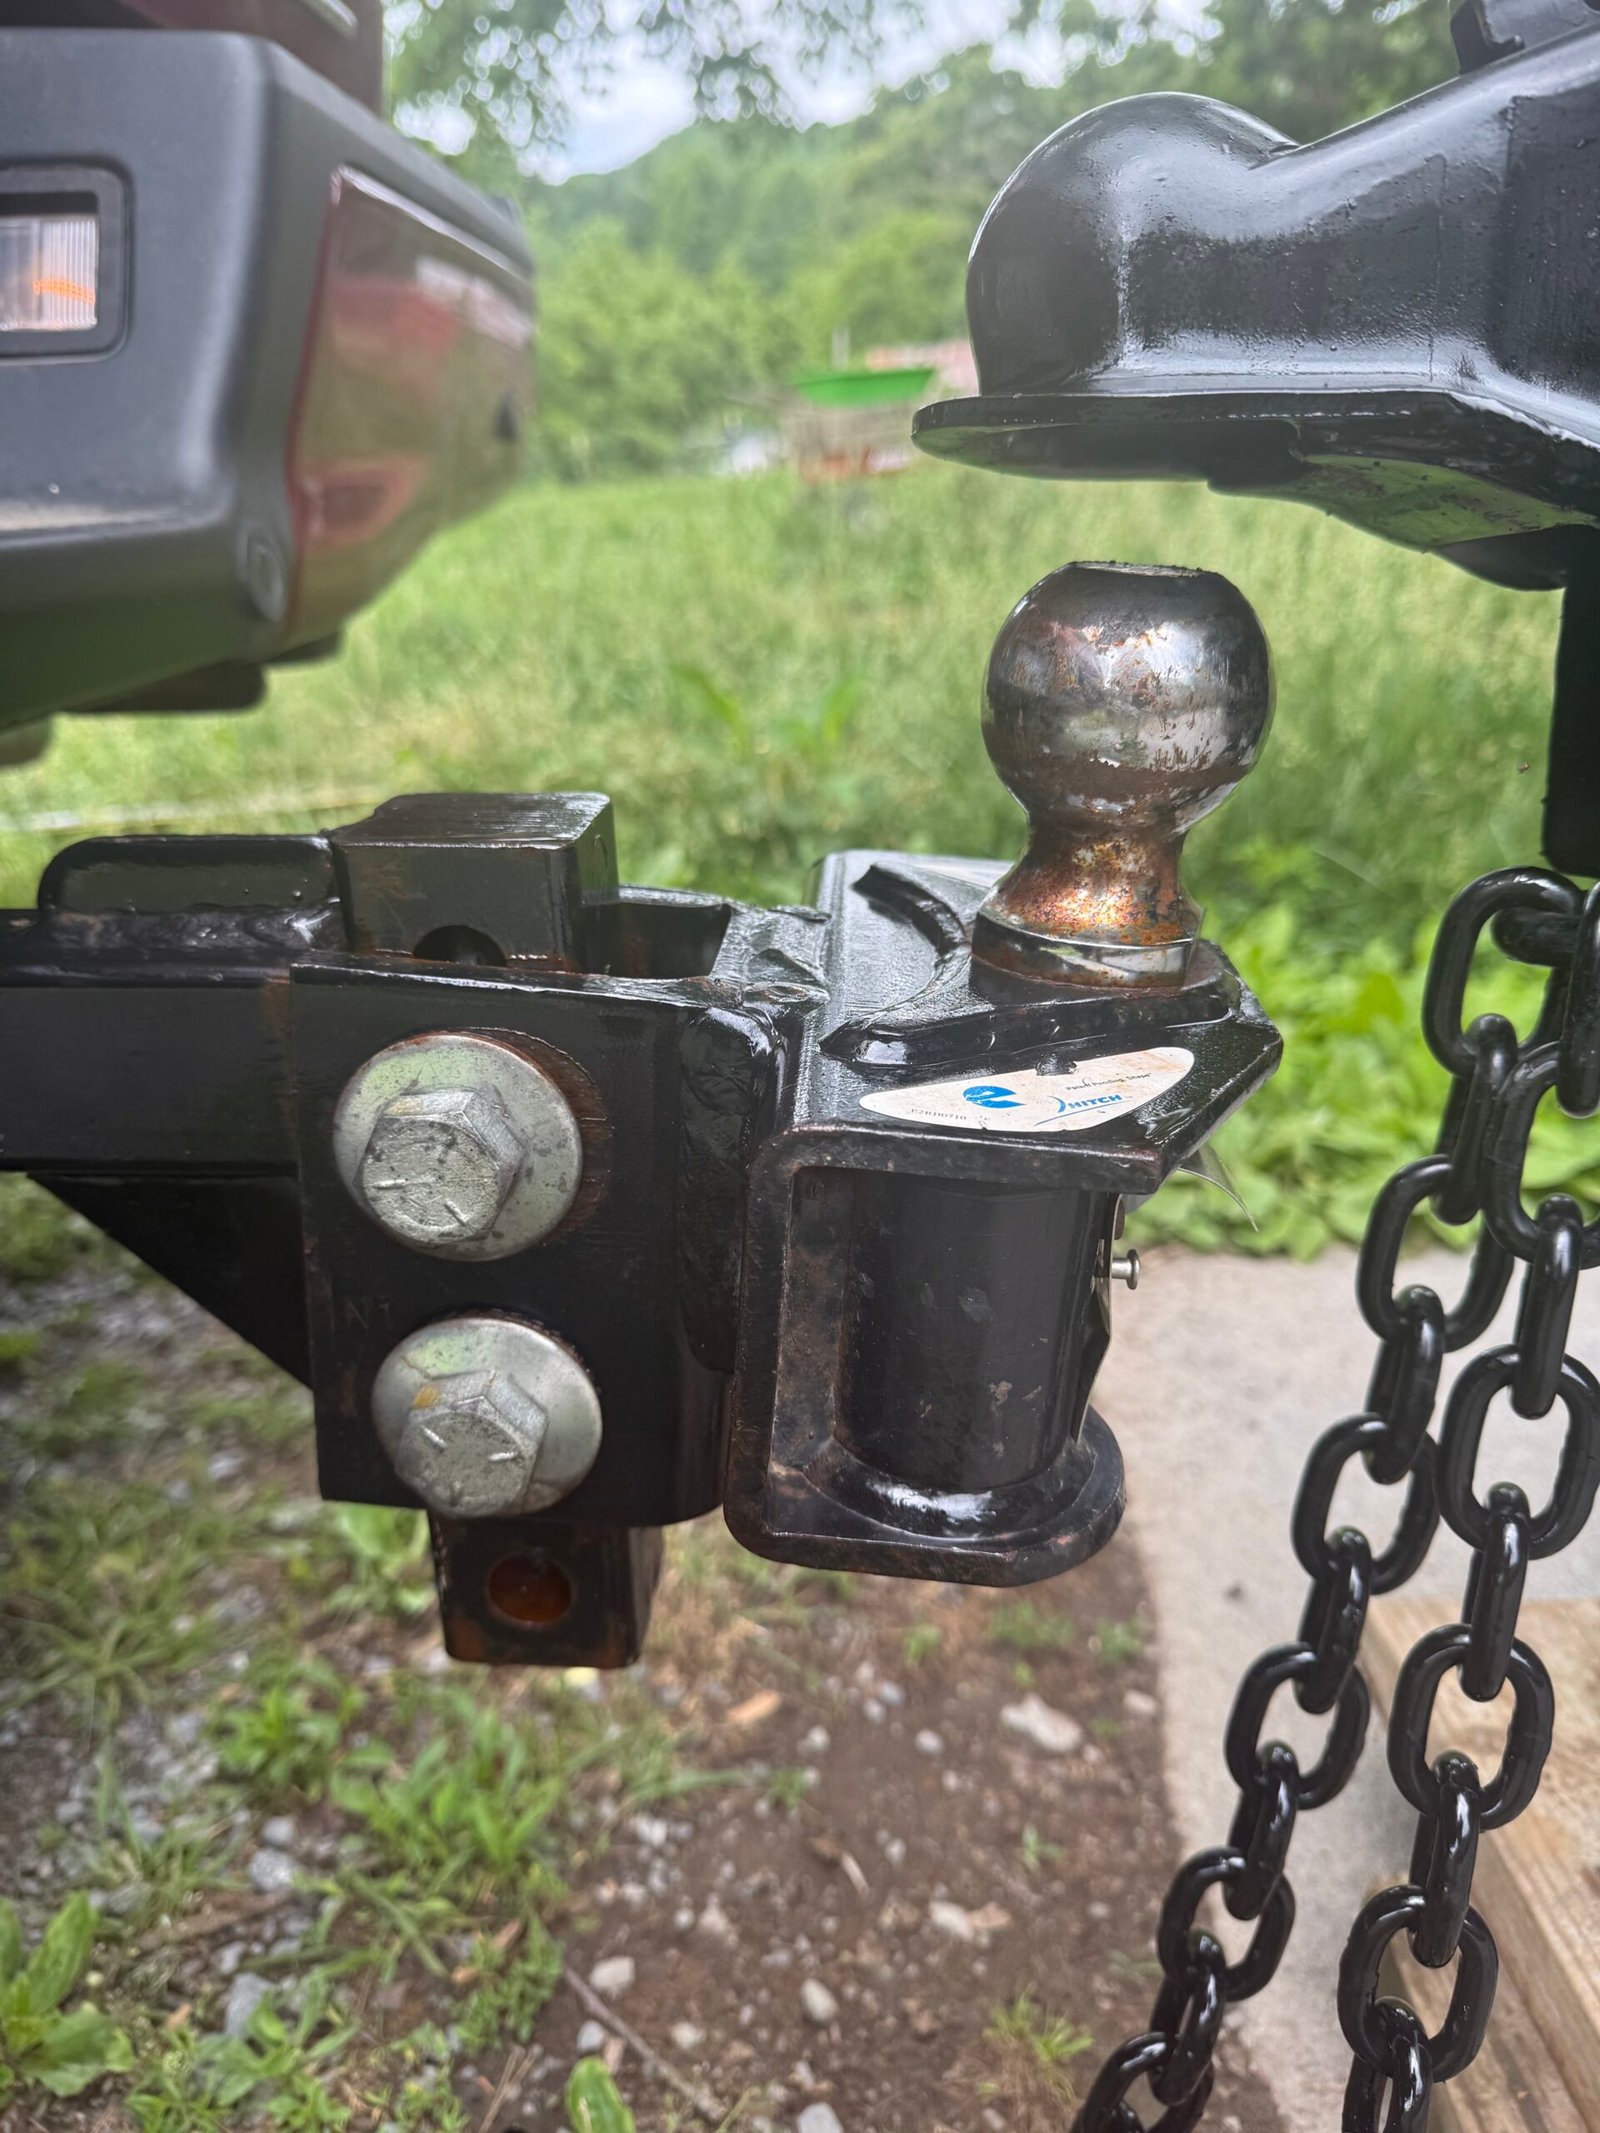
Real photo: our hitch area. This image shows our equipment only; follow the instructions and ratings for your own complete towing system.
Depending on the equipment, the verification may include:
- coupler seated and latched correctly;
- the required latch pin or lock installed;
- hitch receiver pin and retention device secure;
- weight-distribution or sway-control components connected and adjusted according to their instructions;
- safety chains connected to the approved tow-vehicle points with enough turning clearance and no ground contact;
- breakaway cable connected to the proper independent tow-vehicle point and routed as instructed;
- trailer electrical plug fully seated with safe cable clearance;
- tongue jack fully retracted or placed in its required travel position;
- jack foot, block, wheel, or other loose hitching equipment stored; and
- no cable, chain, or component pinched, dragging, or positioned where a turn could damage it.
The connection method, routing, adjustment, and ratings must come from the tow vehicle, trailer, hitch, and component manufacturers—not from a generic photograph.
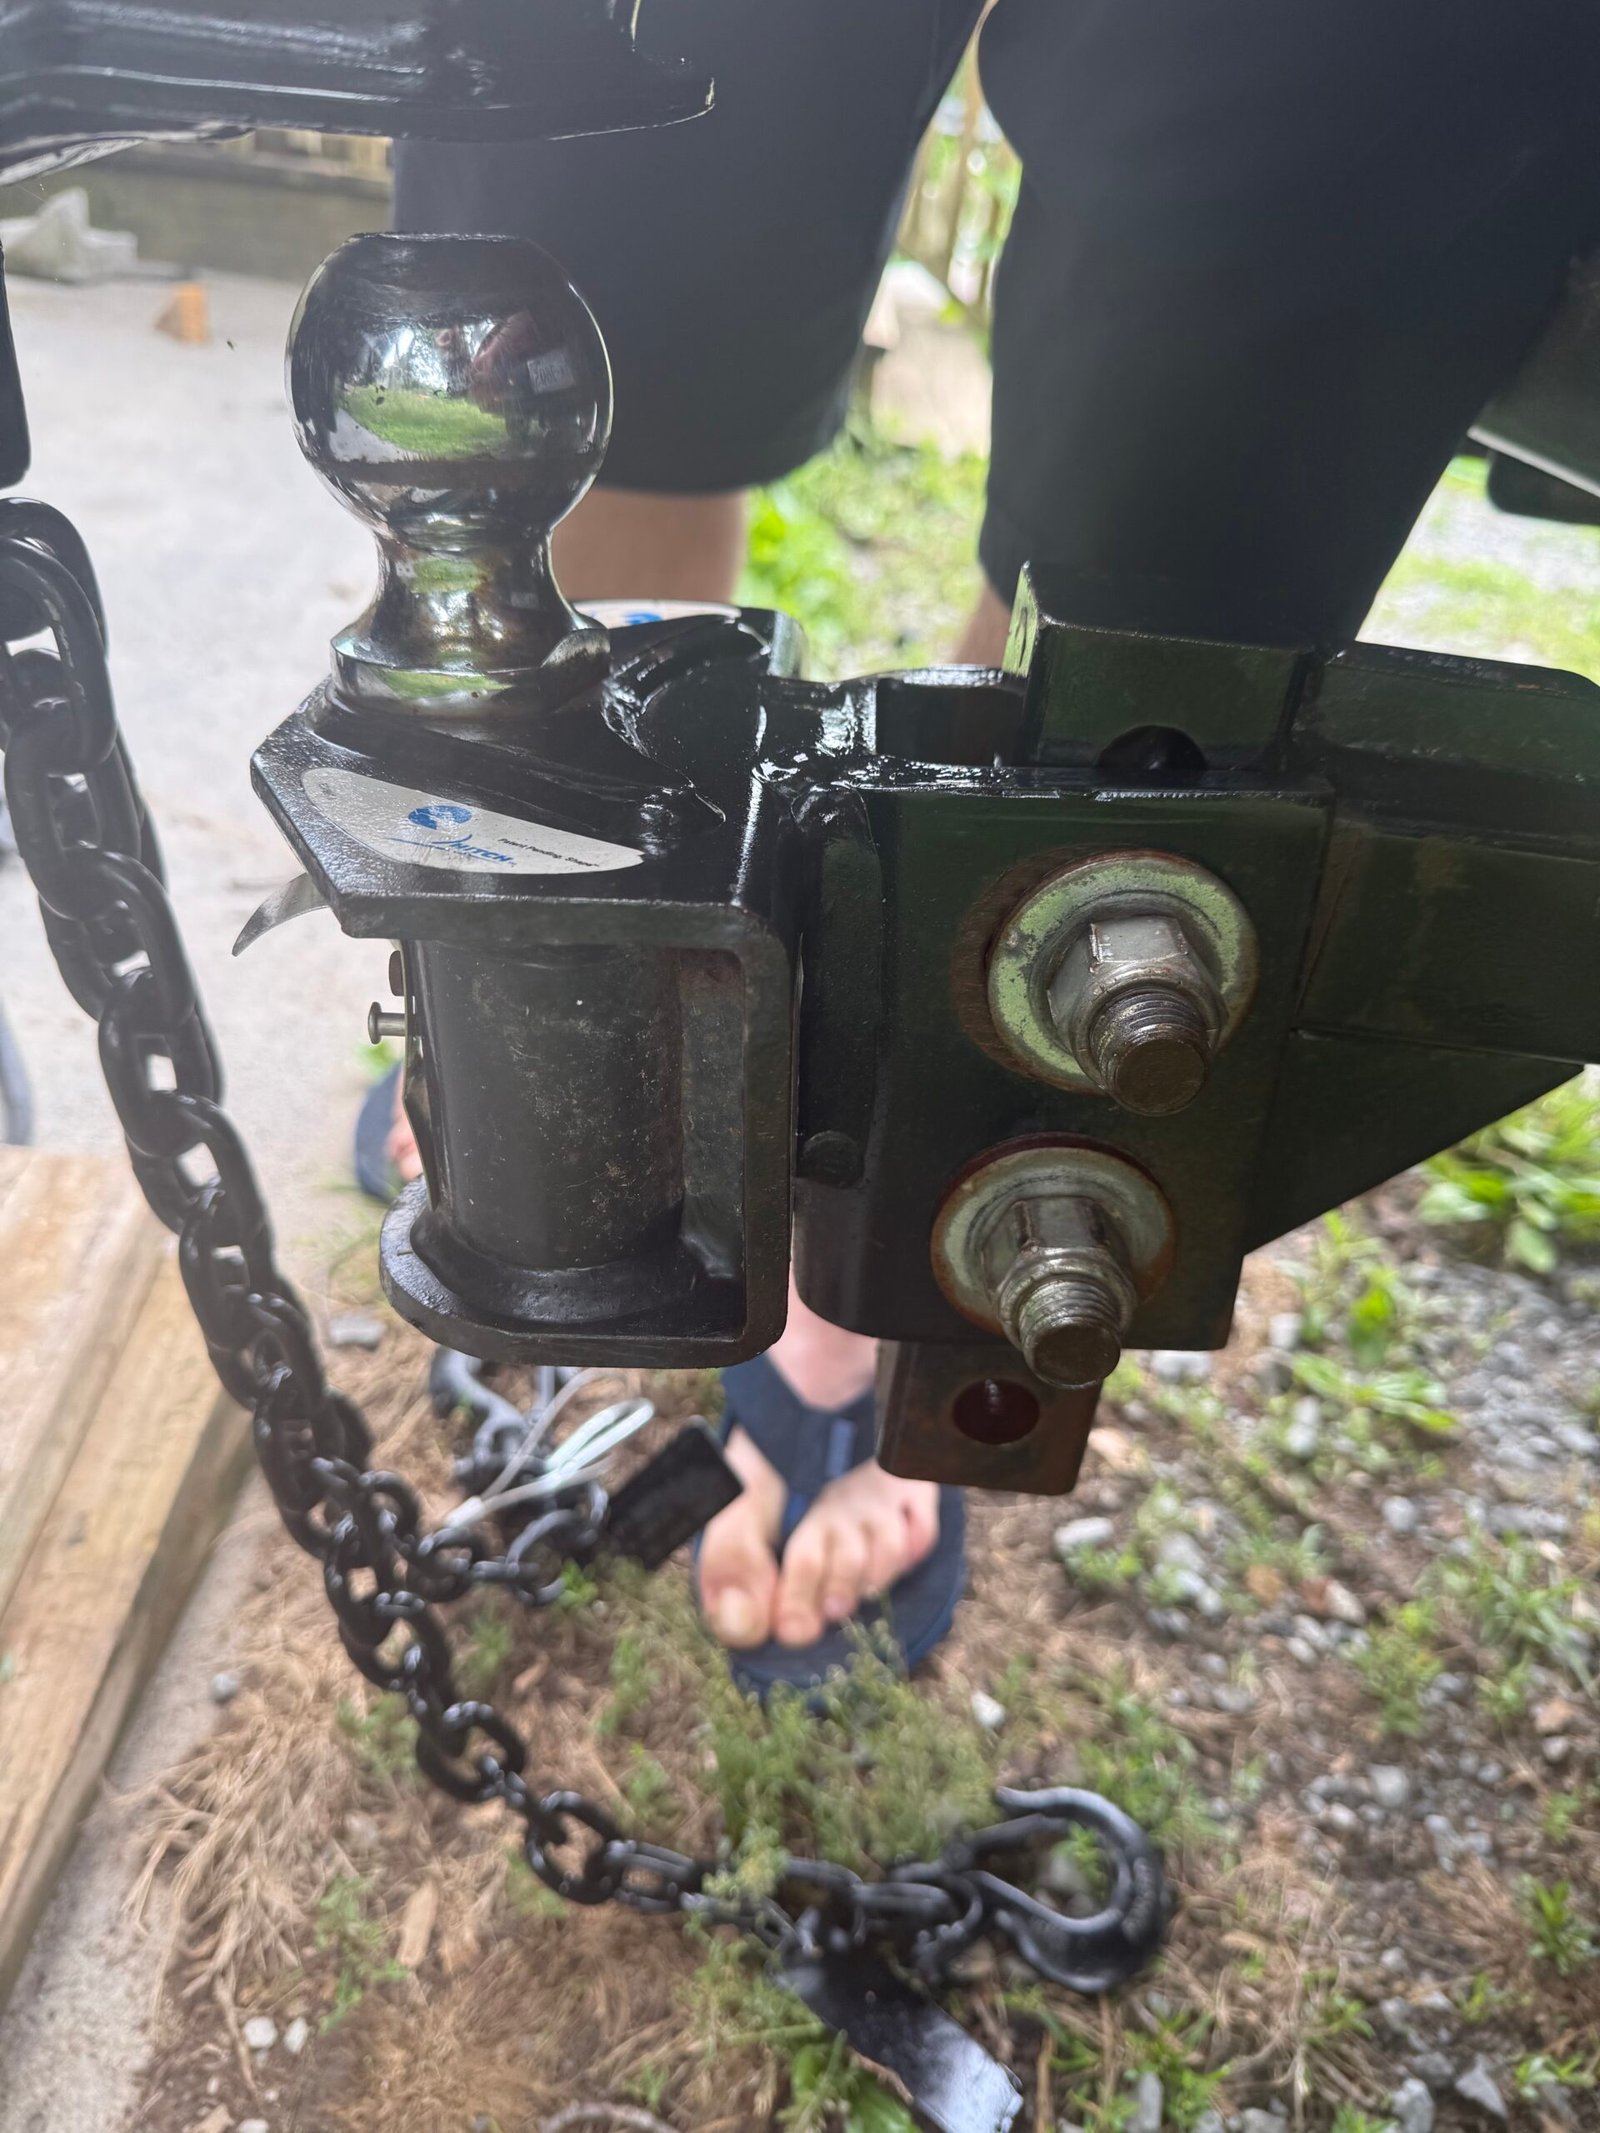
Real photo: a closer reference of our setup. It is not an installation diagram.
Pass 5: Check the truck and trailer as one unit
Once everything is connected, we confirm the combination is ready for a controlled test.
We check:
- truck and trailer tires using the correct specifications;
- mirrors and camera views;
- trailer brake controller settings and operation according to the manuals;
- brake lights, turn signals, hazard lights, marker lights, and other required lighting;
- truck doors, tailgate, bed cargo, hitch-area tools, and fuel or fluid caps;
- people, child restraints, pet restraints, and loose items inside the truck; and
- the intended route out of the site for branches, posts, tight turns, parked vehicles, and people.
The light check works best with two adults: one operates the controls while the other watches the trailer. Cameras or reflections can help, but we prefer direct confirmation whenever possible.
Pass 6: Pull forward a few feet and look again
When conditions allow, we pull forward slowly into a safe position, stop, secure the truck, and look back at the site and rig.
Moving the trailer can reveal a chock, block, cord, hose part, leak, dragging item, or open door that was hidden from the first angle. This is also a good moment to confirm that the trailer is tracking normally and nothing sounds or feels wrong.
We do not continue if the brakes, steering, hitch, tires, lights, load, or trailer behavior seem abnormal.
Our short final callout
Right before moving, we say the important categories out loud:
Inside secure. Utilities stored. Doors and awning closed. Tires checked. Hitch verified. Chains, cable, plug, jack. Lights tested. People and dogs secure. Site clear.
The words are less important than using the same order every time.
Printable five-minute departure sequence
Inside
- People and pets out of the trailer
- Loose items, cabinets, drawers, doors, windows, and vents secured
- Refrigerator, bathroom, appliances, and systems placed in the correct travel condition
- Entry door latched
Campsite
- Utilities disconnected and stored
- Stabilizers, steps, awning, slides, and accessories in their correct travel positions
- Chocks and leveling equipment handled in the proper hitching sequence
- Chairs, mat, cooking gear, dog gear, toys, and trash cleared
Trailer exterior
- Compartments and panels latched
- Tires, wheels, underbody, lights, and mounted cargo inspected
- No visible damage, leak, loose component, or unusual condition
Hitch and truck
- Coupler, pins, hitch components, chains, breakaway cable, plug, and tongue jack verified
- Mirrors, cameras, brake controller, and required lights checked
- Truck cargo, doors, passengers, child restraint, and dogs secure
Final move
- Exit path clear
- Pull forward slowly, stop safely, and look again
Mistakes the walkaround is designed to catch
- A refrigerator or cabinet door that reopened while loading.
- A step, stabilizer, awning, vent, or exterior compartment not fully secured.
- A hose washer, block, chock, adapter, or dog item left at the site.
- A hitch pin, plug, chain, or breakaway cable that needs attention.
- A light that worked last trip but does not work today.
- A tire or underbody condition that changed while the camper was parked.
- A loose item in the truck or trailer.
- A child, pet, person, bicycle, or golf cart entering the departure path.
Keep reading before the next pull-out day
- The Travel-Trailer Checklist We Actually Use
- Backing In, Leveling, and Stabilizing a Travel Trailer
- What to Document Before an RV Repair
- Our Family’s Camper-Buying Journey
The last five minutes are allowed to be boring
Departure is not the fun part of camping. That is why it needs a repeatable order.
We would rather take one calm lap, hear Lily ask about snacks one more time, and pull out five minutes later than spend the first hour wondering whether we latched something.
What is the item your family is most likely to catch on the final walkaround?
Safety note: This article shares personal family experience for general education and entertainment. It is not mechanical, towing, legal, inspection, or professional safety advice. Follow the manuals, ratings, labels, warnings, inspection schedules, and laws that apply to your exact tow vehicle, trailer, hitch, brakes, tires, accessories, and route. Do not tow when a condition or component is uncertain.
