
Buying a camper is supposed to open the door to years of family adventures, campground memories, and relaxing weekends away.
What nobody really prepares you for is what happens when that nearly new camper gets damaged—and the repair process creates even more problems than the original accident.
That is where our family currently finds itself.
Our camper is less than a year old, and what started with one falling tree limb has turned into multiple repair visits, water leaks, damaged siding, warranty conversations, insurance paperwork, inspections, and a crash course in documenting absolutely everything.
This is our story so far—and the lessons we wish we had known from the beginning.
Why Our Camper Was Sitting Outside
We currently park our camper on a concrete pad near our home while we wait to eventually build a covered parking area for it.
A camper carport sounds simple until you live in the mountains of Virginia, where our property seems to have approximately three inches of naturally flat ground.
Before we can install a cover, we have to:
- Find a suitable location on the property
- Avoid taking usable space away from the rest of the farm
- Have the land properly graded
- Create enough room to maneuver the camper
- Leave space for the slide-outs, doors, storage compartments, and outdoor kitchen
- Make the structure tall enough for roof inspections and maintenance
- Make sure we can actually get the camper in and out without trapping it inside
The carport itself is only part of the cost. Preparing the land can become a major project before the first piece of metal is ever installed.
You also need much more space than the actual dimensions of the camper and carport. A travel trailer does not turn into a parking space like a compact car. You need room to swing the truck and trailer, straighten everything out, and make adjustments without getting stuck against a building, fence, tree, or hillside.
Height is another detail that is easy to overlook. A cover may technically be tall enough for the camper, but that does not mean it gives you enough room to inspect, clean, reseal, or work on the roof.
I would rather not perform camper maintenance while crawling around on my belly like I am trying to sneak under airport security lasers.
Because of the grading, construction cost, planning, and space requirements, the project has always felt a little overwhelming. However, after what happened to our camper, we now understand exactly why proper covered storage can be worth the investment.
One Small Limb Created a Very Large Problem
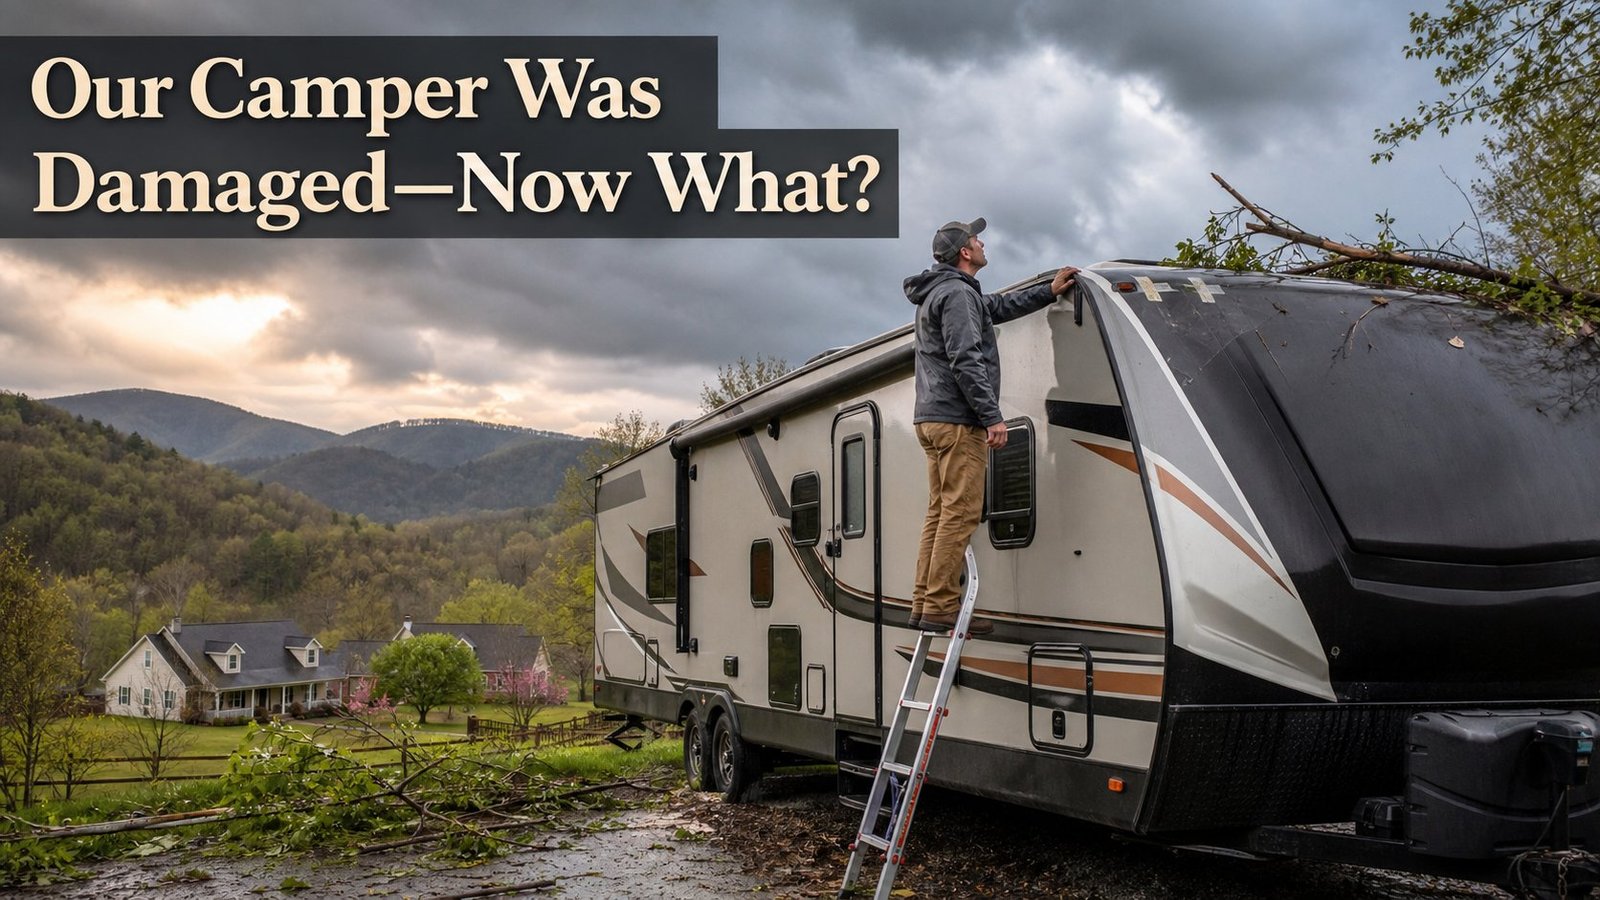
A tree limb fell onto the roof of our camper.
The damage did not initially appear catastrophic, but anyone who owns an RV knows that water intrusion can quickly turn a small issue into a much larger one.
The camper was taken to a repair shop, where the roof was repaired.
Unfortunately, the repair was not completed correctly.
During a later camping trip, we discovered that the front closet was leaking badly. We had to place towels and a bowl underneath the leak to catch the water.
We also found slow leaks above our bed near the seam where the roof and front cap meet.
All of the clothes stored in those areas had to be removed.
This made the trip especially interesting because most of the affected clothing belonged to my wife.
I can survive for several days with shorts and a T-shirt. Her wardrobe included more of the specialty items that are not as easily replaced by grabbing whatever happens to be sitting on top of a duffel bag.
Needless to say, the leaking camper did not improve the vacation atmosphere.
Document everything—even the areas you do not think are damaged.
The Repair Shop Forgot to Seal the Front Cap
Once the trip was over, we contacted the repair shop and sent them photographs and videos of the leaks.
Because the previous work was still under warranty, we returned the camper for another repair.
We were then told that the area around the front cap had not been sealed correctly during the original roof replacement.
The shop had to pull the roof membrane back and repair the area again.
Afterward, we were essentially told that the camper was finished and ready to go.
However, we were not given much confirmation about whether the rest of the camper had been thoroughly inspected for moisture, separation, delamination, or hidden damage caused by the leak.
That was not good enough for us.
A camper that has experienced water intrusion may never be exactly the same if the damage is not discovered and corrected quickly. Moisture can affect the roof, walls, insulation, flooring, cabinetry, and resale value.
We purchased this camper with the intention of keeping it for the next 10 to 15 years. This was not simply another unit passing through a repair shop. This was the camper our family planned to use for years of trips and memories. You can read more about the beginning of that journey in our story about buying a new camper.
That changed how we approached the rest of the repair process.
Document Everything—Even When It Feels Unnecessary
One of the biggest lessons we learned was to photograph and record everything.
If you are standing there wondering whether you need a picture of something, take the picture.
Later, we found ourselves searching through older photographs to determine what certain areas of the camper looked like before the damage. In several cases, we could not find a clear picture that showed the exact condition of the area.
That meant we could not easily prove that something had changed.
After that, we began documenting the camper much more carefully.
The easiest method I found was taking a slow walk-around video.
Walk slowly around the entire camper while recording:
- The roof edges
- Front and rear caps
- Seams and trim
- Slide-outs
- Storage doors
- Windows
- Siding
- Outdoor kitchen
- Awning connections
- Corners and lower panels
A good video lets you pause later, zoom in, and inspect areas you may not have realized were important at the time.
For known problem areas, take separate photographs from several angles.
It is also helpful to photograph the matching area on the undamaged side of the camper. That creates a comparison showing how the trim, siding, sealant, or panel should look.
Hold the Repair Shop Accountable
Repair shops are supposed to be the professionals.
That does not mean every shop is dishonest or careless, but it does mean you should clearly document what they have agreed to repair.
Whenever possible, get the following in writing:
- The damage being repaired
- The materials being replaced
- The expected condition after the repair
- Any warranties covering the work
- Any additional damage discovered during the repair
- Who is responsible if the repair causes another problem
When discussing insurance repairs, ask for the camper to be restored to its pre-loss condition and get that expectation in writing.
Do not rely only on verbal promises.
A conversation can easily be forgotten, misunderstood, or remembered differently by each person. Written documentation creates a record that everyone can reference later.
We were also hesitant to remove the camper from the repair facility without written information about the issues created by the previous repair.
We worked with the insurance company handling the original claim, and they confirmed that they were willing to communicate with the repair shop about damage related to the repair work.
That support gave us another layer of documentation and accountability.
The Repair Created More Damage Than the Original Limb
Our repair problems did not stop with the roof.
A side panel had also been damaged and needed work. During the repair process, the shop struggled to match the sealant correctly.
The trim around our outdoor kitchen was reportedly installed and removed several times while they tried to correct the appearance.
By the time the sealant issue was addressed, the metal around the area had become warped from repeatedly removing and reinstalling the trim.
The repaired area now requires additional replacement work.
In other words, part of the camper was damaged more during the repair process than it had been by the original falling limb.
That has been one of the most frustrating parts of the entire experience.
The original damage was unfortunate, but accidental. Damage caused during a professional repair feels very different—especially when you are then expected to inspect the work and identify the new problems yourself.
Why We Hired an Independent RV Inspector
We decided not to rely entirely on the repair shop’s final inspection.
We researched local inspectors and found someone who is nationally certified in RV inspections.
Before the repair warranty period ends, the inspector will examine:
- The roof
- Roof-to-cap seams
- Walls and interior panels
- Siding
- Signs of moisture
- Possible delamination
- Sealant and trim
- Previously repaired areas
- Any additional problems that may have developed
The goal is to have an independent professional document the condition of the camper while the repair work is still covered.
If another issue appears later, we will have written evidence showing what was inspected, what was found, and what repairs were supposedly completed.
An independent inspection is another expense, but after everything we have experienced, it feels like inexpensive protection compared with discovering major water damage after the repair warranty has expired.
Consider having an independent certified RV inspector examine the completed work while the repair warranty is still active.
Our Advice After This Experience
We are still working through the repair process, so this story is not completely finished.
However, there are already several things we would recommend to any camper owner dealing with damage.
Take photographs before anything happens
Do a detailed walk-around of your camper when it is new and at least a few times each year.
Record a video before leaving it for repairs
Document the camper’s condition, including areas that are not related to the original damage.
Photograph the camper when you pick it up
Take another slow walk-around before leaving the repair shop.
Inspect inside during or after rain
Leaks do not always appear immediately. Check cabinets, closets, walls, floors, corners, and areas around the front and rear caps.
Get promises in writing
Make sure the repair order clearly identifies what is being fixed and what condition the camper should be in when the work is completed.
Keep insurance involved
When insurance is paying for the repair, communicate with the adjuster if the shop causes additional damage or fails to restore the camper properly.
Consider an independent inspection
A certified RV inspector may find problems that are easy for an owner to miss.
Do not feel guilty for asking questions
You are not being difficult by expecting the job to be done correctly.
Before Leaving Your Camper at a Repair Shop
Save this list with your claim and repair paperwork so the important details do not depend on memory.
Printable checklist coming soon
Get the RV Repair Documentation Checklist
Before dropping your camper off for repairs, use our printable checklist to document its condition, organize the paperwork, and know what to inspect when you pick it up.
No fake download link—the printable is still in development. No clutter. Unsubscribe anytime.
This Is More Than Just Another Camper
To a large repair facility, your camper may be one of many units moving through the lot that month.
To you, it may be where your child grows up taking family trips.
It may be where you spend summer vacations, rainy weekends, quiet mornings, long road trips, and evenings sitting around the campground.
The repair shop may see your camper for several weeks.
You may be looking at the results of their work for the next 10 or 15 years.
That is why you should never feel bad about holding a shop accountable, requesting written documentation, asking for additional inspections, or refusing to accept repairs that clearly do not return the camper to its previous condition.
This experience has been a roller coaster for our family, and it has made us even more serious about planning a properly graded and covered parking area at home.
A camper carport may be expensive.
Then again, so is learning firsthand what one falling limb—and one incomplete repair—can do.
Has a repair ever created a second problem?
What do you wish you had documented before leaving your camper at the shop? If comments are open below, share your experience—another family may learn from it.
Explore more RV stories