
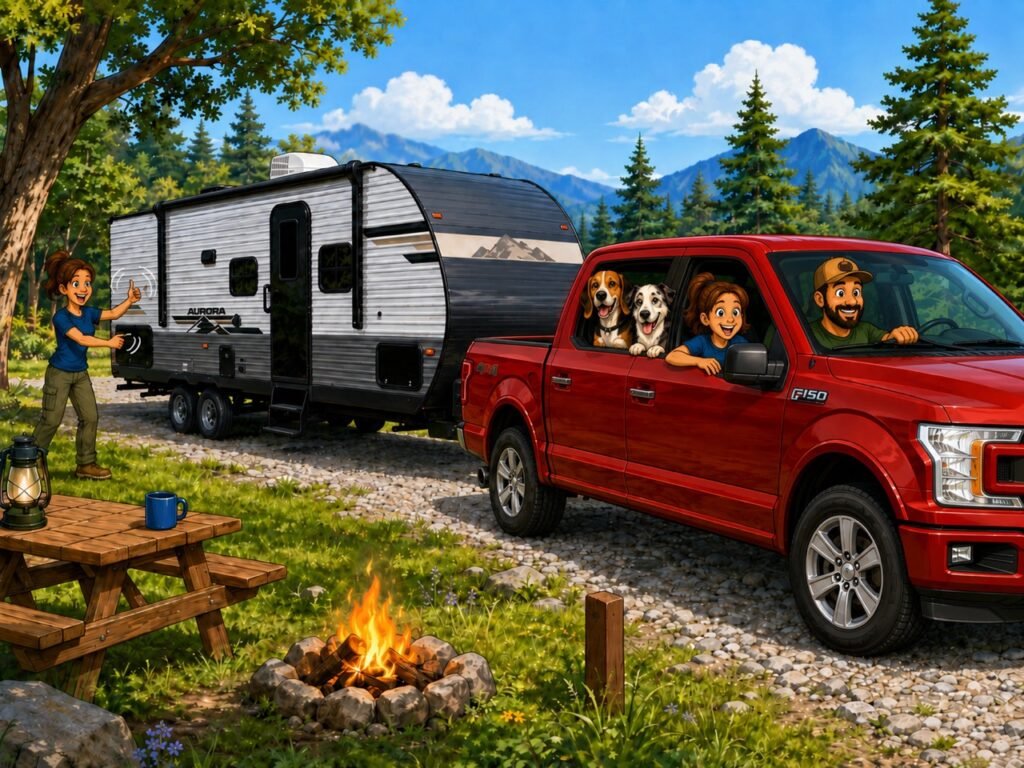
Backing into a campsite can test a marriage faster than almost any other part of camping. Sami often says she is sorry for what she said while I was backing up. She also enjoys pointing out when the camper beside us backed in on the first try while it took me three attempts—or sometimes more.
But when I get our Aurora travel trailer in correctly on the first try, she applauds like I just landed an airplane. That is the spirit of this new RVFamAdventure series: getting from travel day to camp day without losing your mind—or having your wife divorce you while you are backing and leveling the camper.
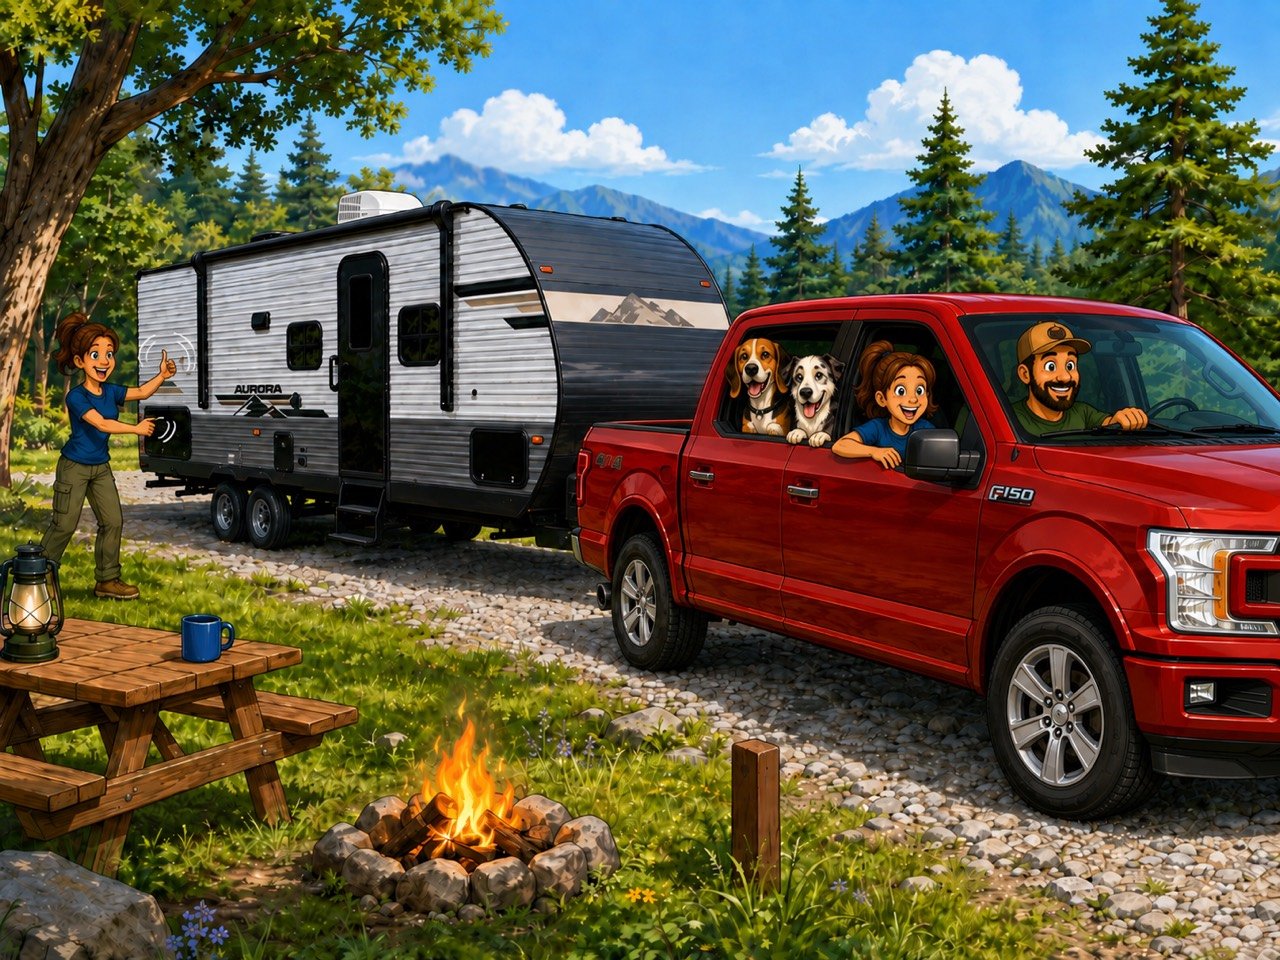
The rule that changed our arrivals
The backing process improved when we stopped trying to figure everything out while the truck was already in reverse. Now we walk the campsite first and make a basic plan: where the camper needs to finish, which direction the truck should approach, where the tires need to land, which side looks low, where Sami can stand safely, which mirror I should watch, and whether we are using hand signals or phones.
Our nonnegotiable backing rule
If the driver cannot see the spotter, the driver stops.
The spotter never stands directly behind a moving camper where the driver cannot see or hear them. A visible position beside the trailer, simple hand signals, phones or walkie-talkies all work better than shouting through a closed truck window.
Why backing a camper becomes a family event
No two campsites offer the same approach. Trees, posts, picnic tables, slopes, fire rings, neighboring vehicles and the angle of the campground road all change the puzzle. The driver cannot see every side of a long trailer, and the spotter may believe their direction is perfectly obvious while the driver sees one hand appear briefly in one mirror.
Planning before reversing reduces stress and repeated repositioning. It also deprives the campground neighbors of some free entertainment, which they reliably receive whenever a couple starts backing without a plan.
Walk the campsite before you back in
Before the truck goes into reverse, we look for the desired final camper position and the location of electrical, water and sewer connections. Then we check slide-out and awning clearance, tree limbs, picnic tables, fire rings, campsite posts, drop-offs, soft ground and low branches.
- Picture where the trailer tires should finish.
- Identify the likely low side and any loose or soft ground.
- Confirm room for slides, the awning, steps and utility connections.
- Choose the safest visible position for the spotter.
- Plan the truck’s approach before traffic begins stacking up.
We work around permanent campground equipment rather than moving it without permission. If something is in a genuinely unsafe or unusable position, we ask campground staff.
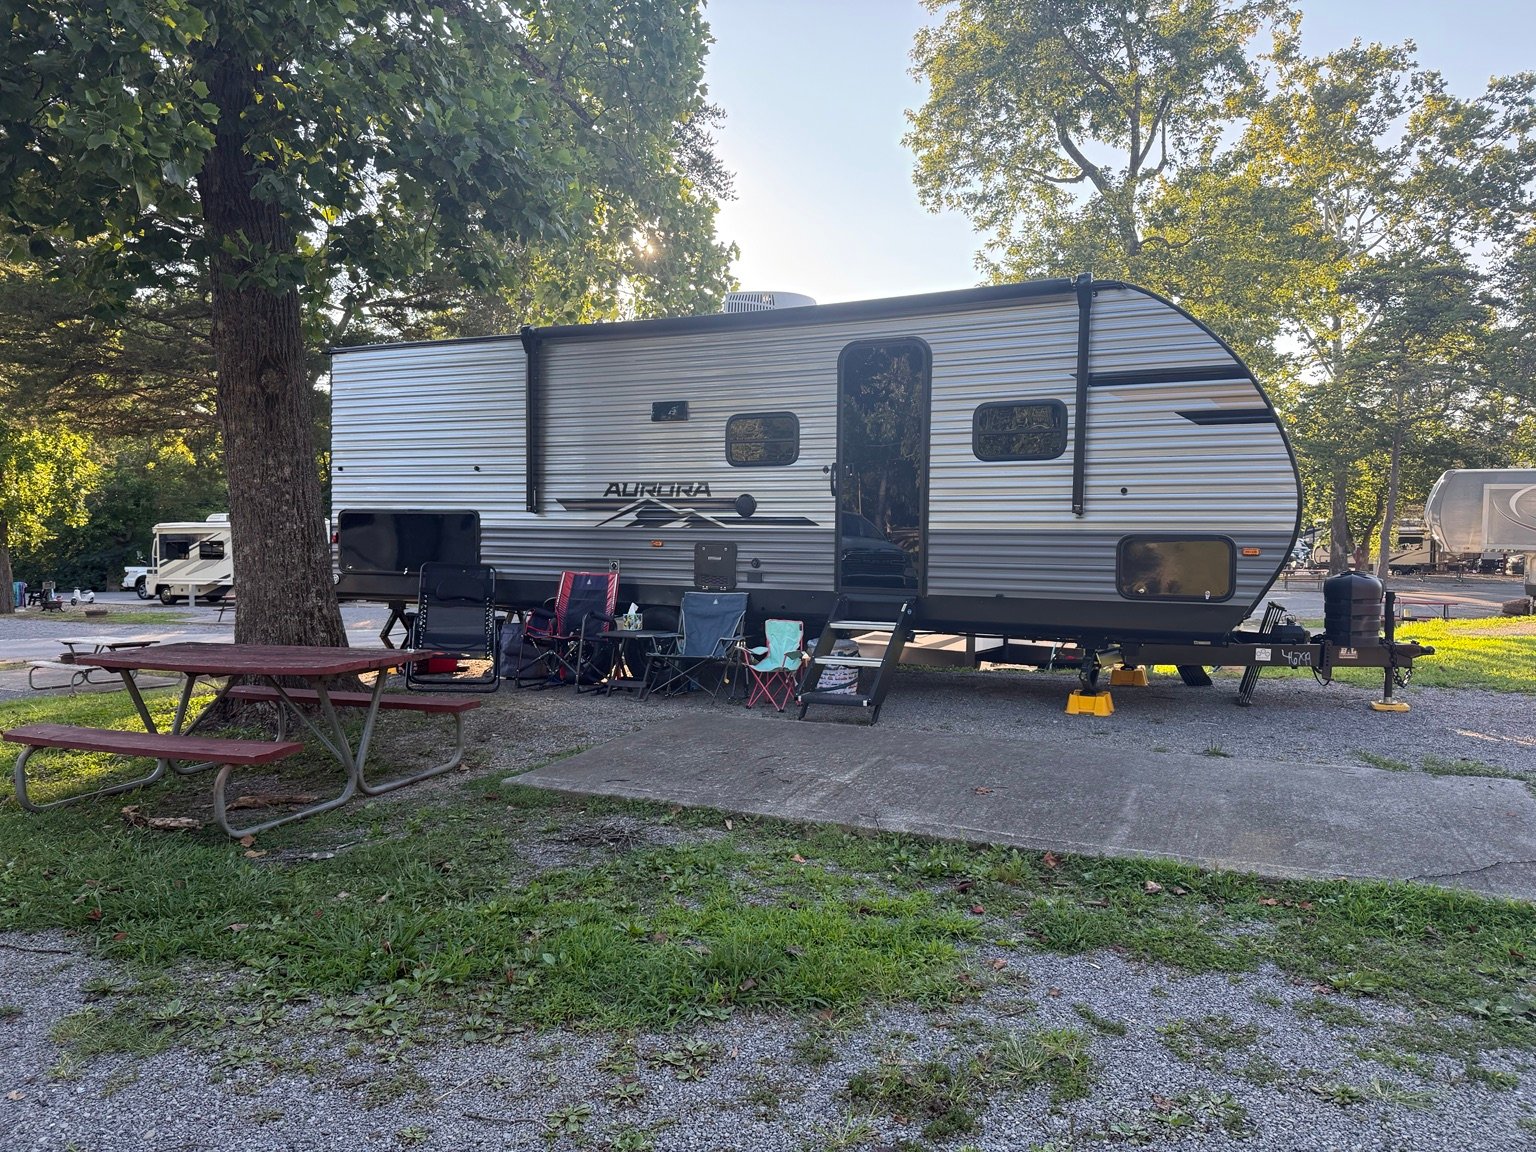
Agree on communication before reversing
- Use a few simple hand signals and agree exactly what stop means.
- Use phones or walkie-talkies when distance, noise or darkness makes hand signals difficult.
- The spotter stays visible in the driver’s mirror; the driver stops immediately if the spotter disappears.
- The spotter does not walk directly behind the moving trailer.
- Avoid vague directions such as “come this way.” Say driver side, passenger side, straighten or stop.
- Only one person guides the driver at a time. Helpful bystanders can wait until the truck is in park.
Truck backup camera versus camper backup camera
Truck backup camera
The truck camera is excellent for aligning the hitch ball and coupler, checking the area immediately behind the truck and reducing repeated exits from the cab while hitching. Once the travel trailer is attached, though, that view is mostly a close-up of the camper’s front wall.
Aftermarket camper backup camera
A rear camper camera can show what is behind the full trailer, help watch campsite obstacles and blind spots, and guide the last part of the backing path. Models with observation mode can also add a rear view while towing, when used as designed.
Not proud of how long that took me to figure out.
Our camper came prewired for a rear camera, but the camera itself was not installed. After installation it appeared not to work. The solution on our camper was turning on the truck’s running lights, because that prewired circuit powers the camera from the camper’s running-light circuit.
Camera wiring varies by camper and installation. Check the instructions for your specific camper and camera rather than assuming the running-light trick applies to every rig.
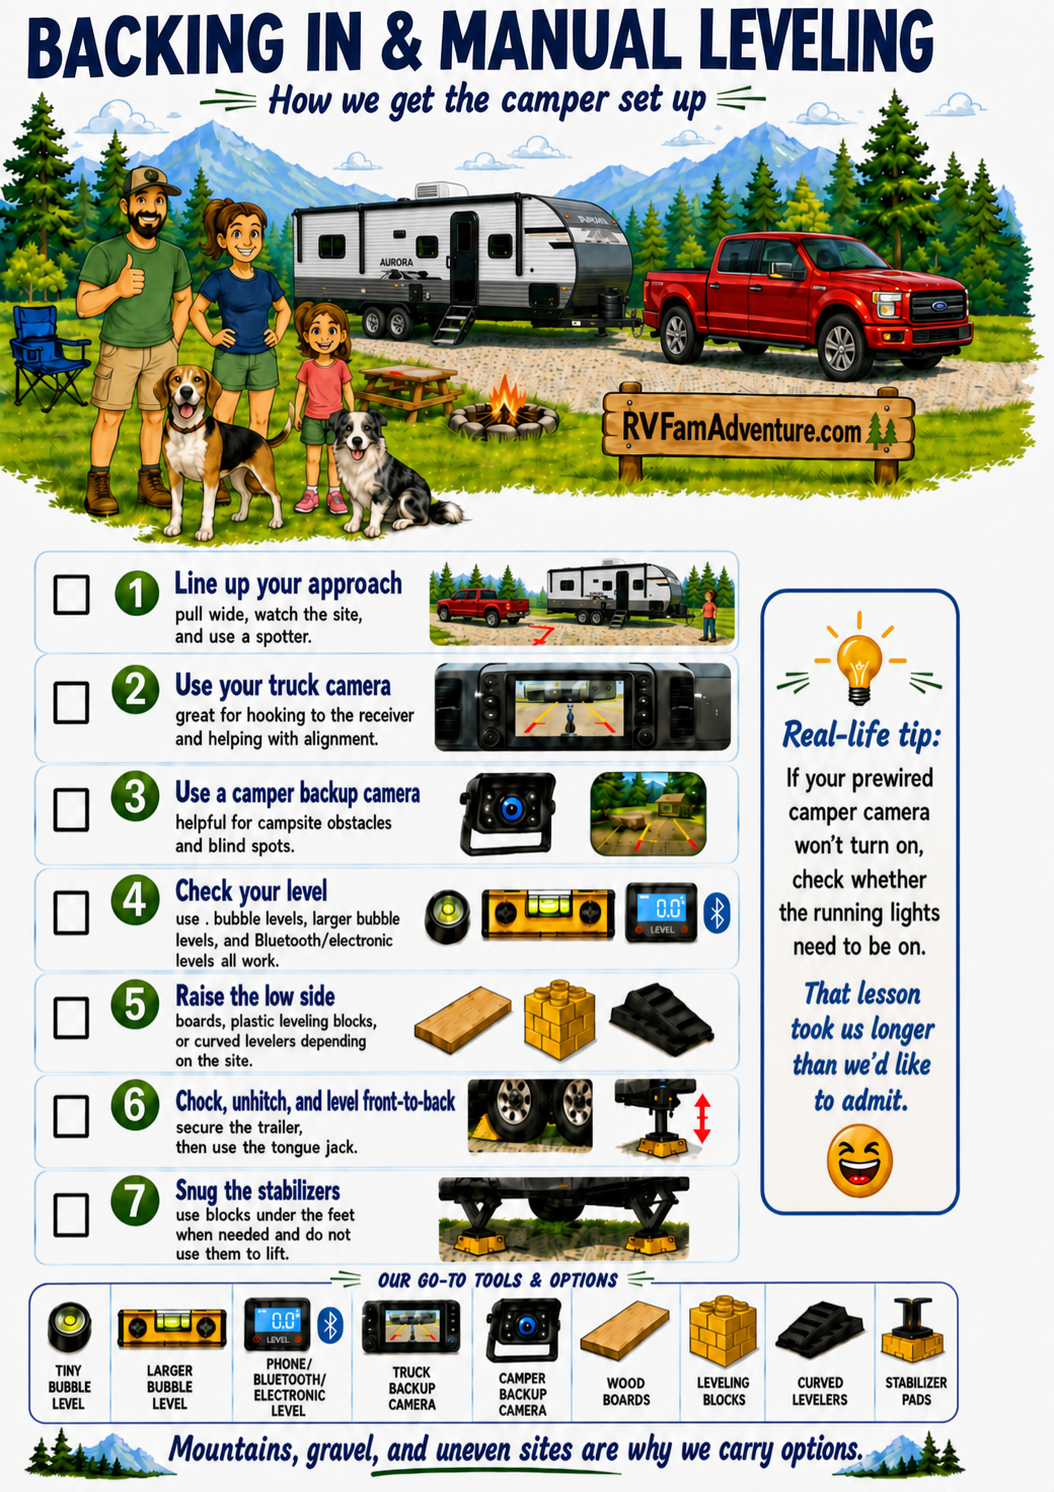
Types of levels
- Small stick-on bubble levels: cheap, simple, always mounted and easy to read from outside when positioned correctly.
- Larger graduated bubble levels: useful for estimating how much one side needs to rise and choosing block height.
- Carpenter’s level: inexpensive and accurate, provided it sits on a surface that truly represents the camper.
- Smartphone leveling apps: convenient, but dependent on a reliable flat surface and calibration when the app requires it.
- Bluetooth or electronic RV levels: send live measurements to a phone, reduce trips in and out of the truck and help with solo setup, but cost more than a bubble level.
The best level is the one you understand, trust and use consistently.
Level side to side before unhitching
Side-to-side leveling is normally completed while our camper is still connected to the tow vehicle. Depending on the trailer, campsite and manufacturer guidance, available methods may include solid 2×8 lumber, graduated board stacks, interlocking leveling blocks, curved drive-on levelers, a properly rated bottle jack at an approved lifting point, or built-in leveling equipment designed for that camper. No single method fits every trailer or site.
The old-school wood-board method
Many campers carry two or more solid 2×8 boards cut to useful lengths. Some build graduated layers—large campsite Lego pieces—until the tire reaches the needed height. Boards are affordable, strong when the lumber is sound, easy to replace and able to support a longer portion of tandem-axle tires. They can work especially well on gravel or rough sites.
The tradeoffs are weight, bulk and mud. Boards can split, warp or rot, provide only fixed height increments and slide when placed poorly. We use only solid, undamaged lumber, support the tire properly and avoid unstable stacks. A pile that begins to resemble a lookout tower is not a leveling plan.
Curved levelers versus interlocking blocks
Curved drive-on levelers
Curved levelers offer fine height adjustment: drive forward or backward until the trailer is level, then secure the leveler with its matching chock. That is usually faster than rebuilding a block stack. Products designed and positioned for tandem axles can be useful, but tire spacing and clearance matter. Curved levelers can shift on loose surfaces and cannot solve every deep dip or unusual campsite shape.
Interlocking leveling blocks
Blocks are flexible, stackable and adaptable to irregular surfaces. When the manufacturer permits, they may serve beneath tires, a tongue jack or stabilizer feet. They do require an estimate of the needed stack height, can crack when overloaded or poorly supported, and may sink into soft soil. Carrying both systems gives us more options than insisting one tool must solve every campsite.
Our real leveling equipment
CARMTEK Camper Leveler 2-Pack Kit
Our primary curved system for the dual-axle trailer is the CARMTEK two-pack kit. The curved drive-on adjustment and matching wheel chocks give us quicker, finer changes than repeatedly rebuilding a block stack. It handles many of our side-to-side leveling situations, but we do not expect it to work on every possible site.
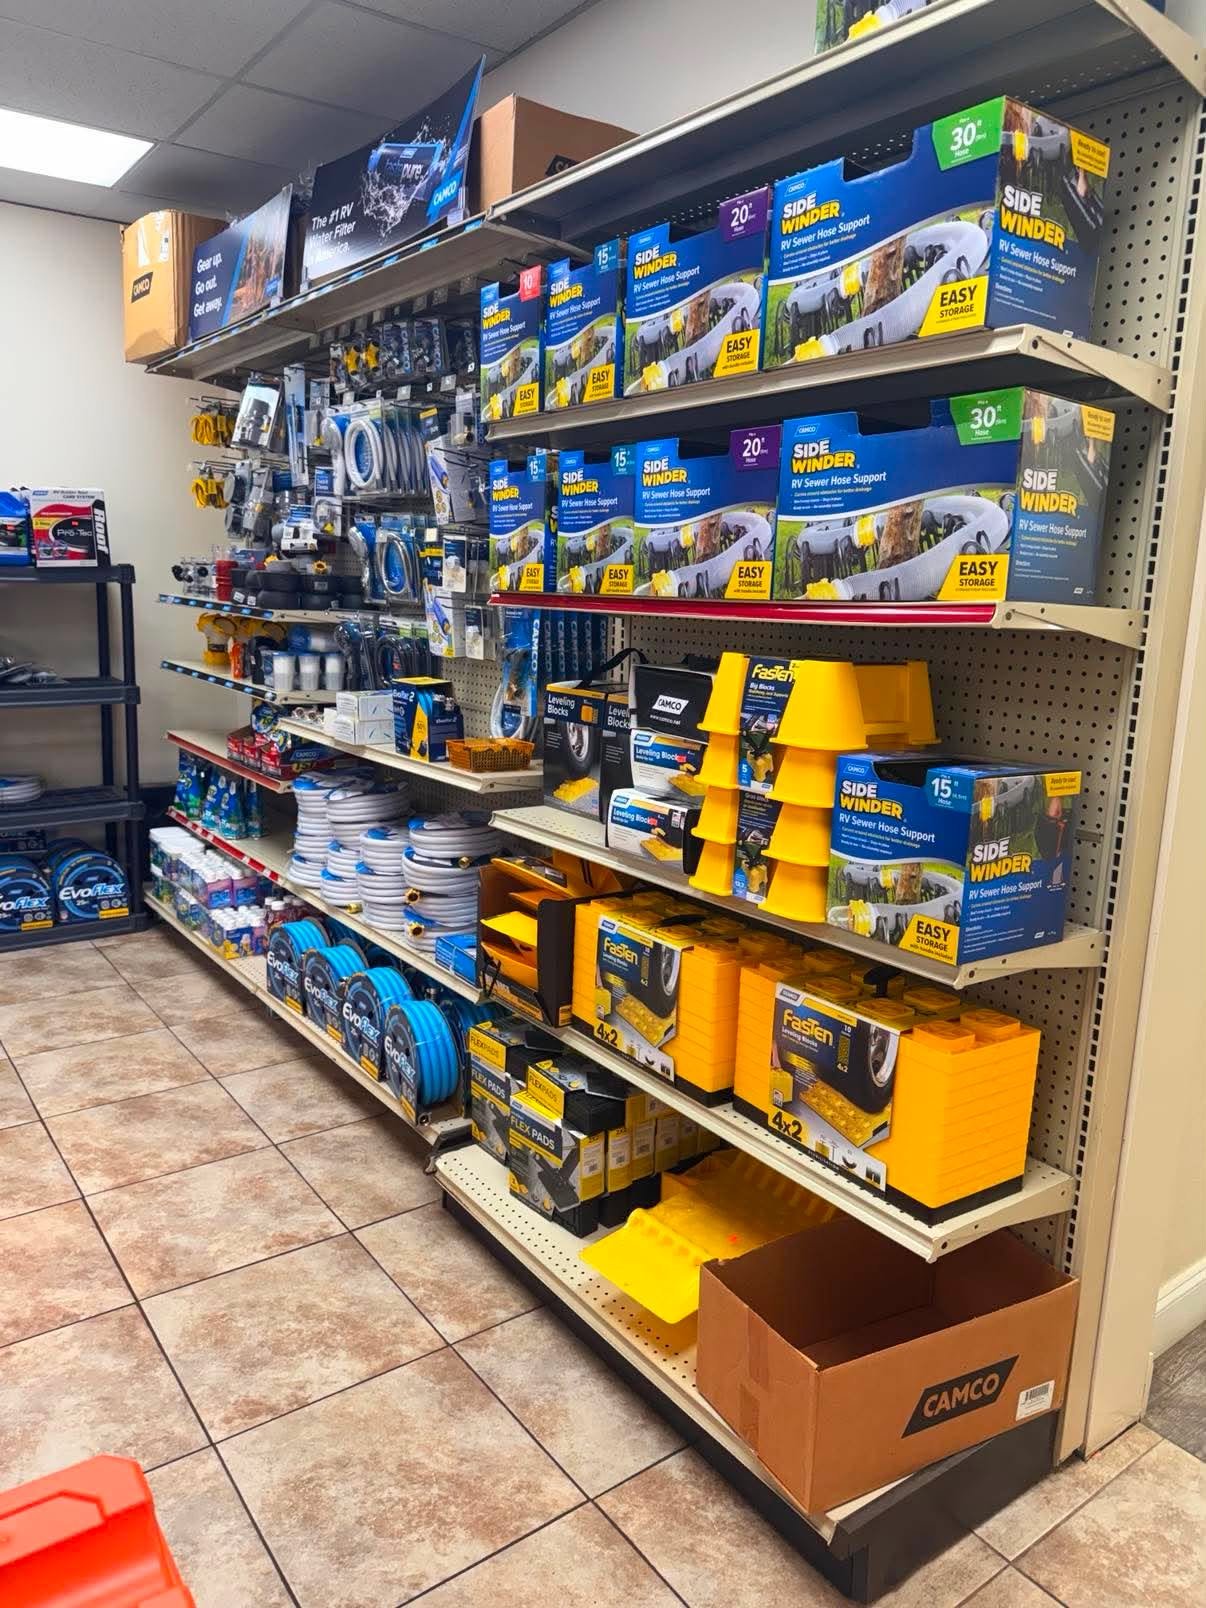
Camco RV Leveling Blocks — 10-piece pack
These are our versatile backup system for tire leveling where appropriate, tongue-jack support, stabilizer-foot support and irregular low areas. They can reduce jack extension and create a broader base on gravel or soil. Our set is the Camco 10-piece leveling-block pack at Tractor Supply; this is a regular reference link, not an affiliate link.
Camco Leveling High-Gain Base
We use the High-Gain Base beneath appropriate jack locations to increase starting height, reduce jack extension, create a broader base and spend less time extending and retracting a jack.
Torin Big Red 20-ton bottle jack
We use this bottle jack only when a specific portion of the camper must be raised at a manufacturer-approved lifting point. It is never placed randomly beneath the camper, it needs a solid and stable base, and nobody crawls beneath a camper supported only by a hydraulic bottle jack. The camper, frame and axle manufacturers’ instructions take priority. Never assume the axle tube is an approved lifting point.
Chock before unhitching
Level side to side first. Chock the wheels securely. Then unhitch.
We install wheel chocks after reaching the correct side-to-side level. Curved levelers are secured with their matching chocks where applicable, and chock placement must resist movement in both directions. The trailer is secure before it is disconnected from the tow vehicle. Soft, loose or sloped ground may require additional care and equipment.
Level front to back
Once the camper is chocked and disconnected, the tongue jack levels it from front to back. A manual tongue jack works; an electric jack is mainly a convenience upgrade, although it feels far more valuable during hot, rainy or late arrivals.
When comparing an electric or high-capacity upgrade, consider rated capacity, wiring and battery needs, the emergency manual override, built-in lights and weather protection. A fitted cover helps protect exposed controls, and a solid jack base reduces extension and setup time.
Level first, stabilize second
Stabilizer jacks are not used to level or lift our camper. They reduce motion after the camper is already level.
- Back into position.
- Check side-to-side level.
- Raise the low side using the appropriate tire-leveling method or an approved jack point.
- Chock the wheels.
- Unhitch.
- Level front to back with the tongue jack.
- Add suitable blocks beneath the stabilizer feet when needed.
- Lower the stabilizers until they are snug.
- Stop before the stabilizers begin lifting or twisting the camper.
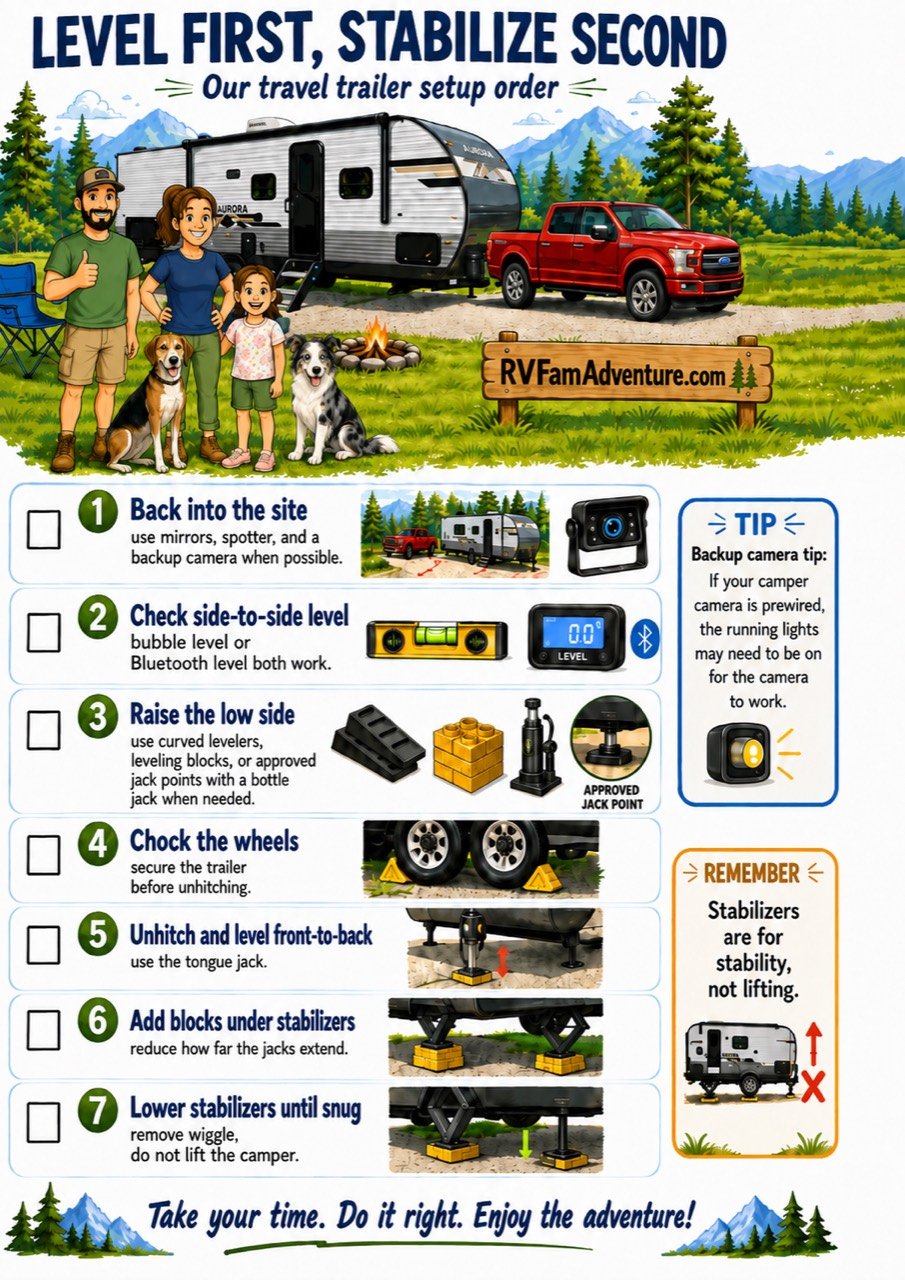
Overtightening can bend stabilizer components, stress the frame, twist the camper, make doors stop closing correctly, cause slide-alignment problems and add unnecessary strain to the trailer structure.
Why blocks help beneath stabilizers
Blocks do more than keep the feet out of the mud. They shorten stabilizer extension. A scissor stabilizer extended a long distance generally resists movement less effectively than the same stabilizer using a shorter extension over a solid base.
Too much extension
More movement and less rigid geometry.
Shorter extension
A firmer stance and less camper wiggle.
Blocks also spread the load and help prevent sinking into gravel, grass or soft soil. They must sit flat and stable—not in a tall tower. We recheck the stabilizers after the family moves inside and again after the ground settles.
DIY stabilization options
A carefully planned, low-cost cross-brace may use a straight, solid 2×4, properly sized eye bolts or rated attachment hardware, and a ratchet strap to create diagonal tension between suitable stabilizer locations. The goal is to reduce side-to-side movement—not lift or distort the camper.
- Do not drill into the frame, stabilizer assembly, underbelly or structural components without approval.
- Keep straps away from propane lines, wiring, plumbing, tires, suspension parts and sharp edges.
- Use rated hardware and sound lumber; do not overtighten the strap.
- Recheck the system after people move inside.
- Stop using it if anything bends, shifts or creates abnormal stress.
DIY bracing is inexpensive and easy to experiment with carefully, and the materials may already be in the garage. It also takes time to install and remove, can be bulky and depends heavily on correct placement. Purpose-built aftermarket braces cost more but usually look cleaner, set up faster, store better or remain mounted, and deliver more repeatable results.
What not to put under a camper
Do not support or level a camper with hollow cinder blocks, loose bricks, uneven landscaping stones, random rocks, cracked pavers, rotten lumber or unstable towers of blocks.
These materials may crack, shift, tip, sink, concentrate force incorrectly or fail without warning. Solid, undamaged lumber and purpose-built RV products are safer alternatives when used correctly.
Leveling options: budget to upgrade
Use what you have
- Solid 2×8 boards
- Graduated board stacks
- Basic wheel chocks
- Simple bubble level
- Manual tongue jack
- Carefully designed DIY bracing
Convenience upgrades
- Interlocking blocks
- Curved drive-on levelers
- Heavy-duty chocks
- High-gain bases
- Stabilizer blocks
- Camper backup camera
- Electric tongue jack
More polished setup
- Bluetooth electronic level
- Permanent jack pads
- Frame-mounted stabilization
- Premium electric tongue jack
- Organized storage bags
- Compatible integrated leveling
A premium setup is not automatically necessary. An upgrade earns its storage space when it solves a real problem: faster setup, less physical effort, less camper movement, cleaner storage, easier solo setup, better adjustment or more consistent results.
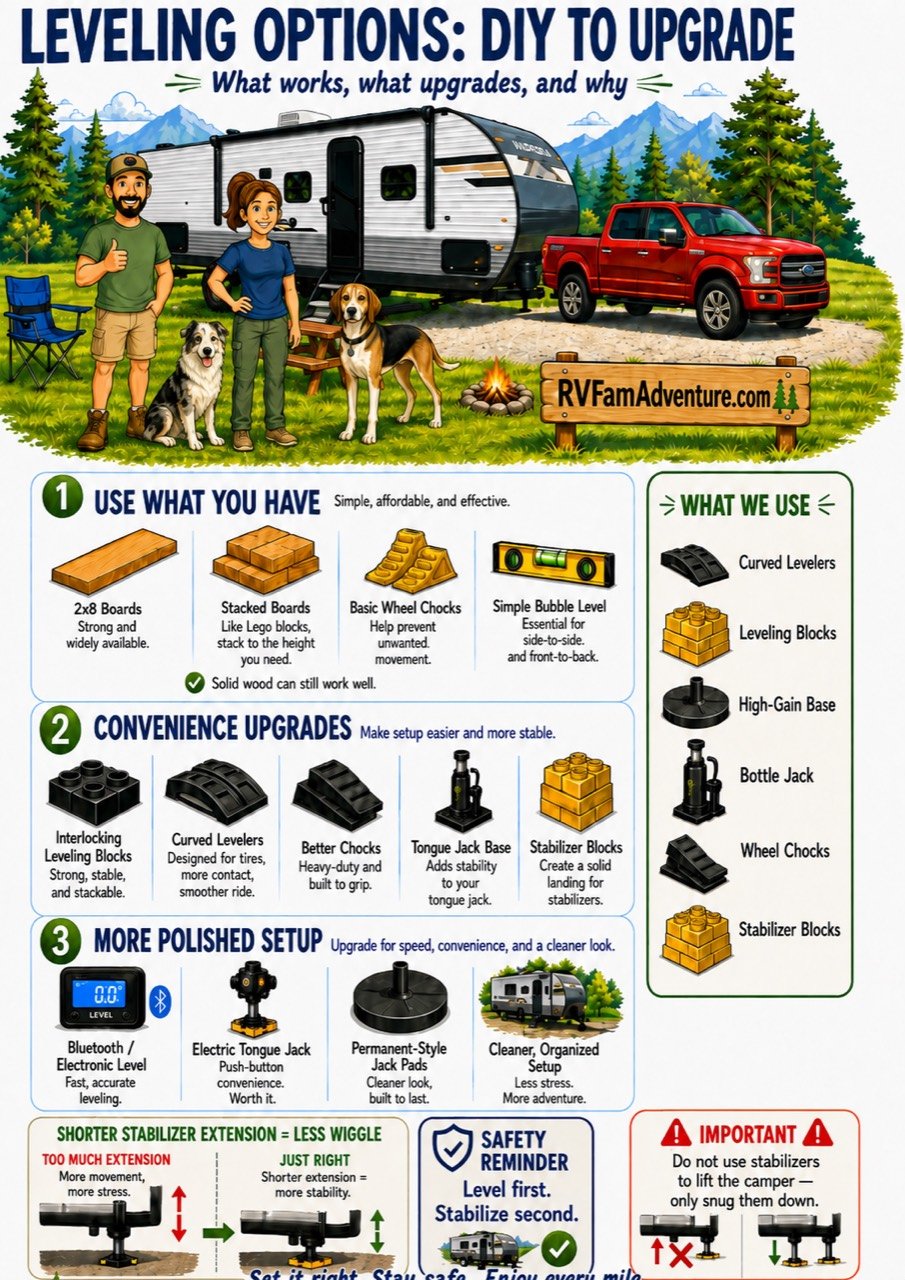
What we would buy first
- Reliable wheel chocks
- A level that is easy to read
- A safe tire-leveling method
- A solid tongue-jack base
- Stabilizer blocks
- A camper backup camera
- An electric tongue jack
- Additional motion-reduction equipment
- Bluetooth leveling equipment
- Permanent jack-pad or stabilizer upgrades
That order changes with camper size, physical ability, typical campground surfaces, mountain sites versus concrete pads, storage space, setup frequency and budget.
Gear mentioned in this article
No affiliate links are active in this guide. These are problem-solving categories and the equipment we actually use—not a shopping list.
- CARMTEK curved leveler kit: fine side-to-side adjustment for many tandem-axle sites.
- Camco 10-piece leveling blocks: adaptable backup support for tires and approved jack or stabilizer locations.
- Camco High-Gain Base: a broader, higher starting point that reduces jack extension.
- Torin Big Red 20-ton bottle jack: lifting only at an approved point on a solid base.
- Wheel chocks: secure the trailer before unhitching.
- Levels and cameras: make measurements and blind spots easier to understand.
- Tongue-jack and stabilizer accessories: reduce effort and motion after the camper is level.
Keep reading around the campsite
- The travel-trailer checklist we actually use
- Our family’s journey of buying a new camper
- Safe campsites and happy nights
- Camper damage and RV repair lessons
- Why our Blackstone works so well at camp
- Our Clabough’s Campground review
From Travel Day to Camp Day
This cornerstone starts a practical series built around the moment towing ends and camp begins.
- Planning the backing approach — in this guide
- Using a spotter without starting an argument — Coming Soon
- Truck and camper backup cameras — Coming Soon
- Manual side-to-side leveling — Coming Soon
- Boards, blocks and curved levelers — Coming Soon
- Chocking and unhitching — Coming Soon
- Tongue-jack leveling — Coming Soon
- Stabilizing without lifting — Coming Soon
- Reducing camper movement — Coming Soon
- Packing the setup equipment efficiently — Coming Soon
Your turn
How many attempts does it usually take your family to back into a campsite—and who apologizes first?
The goal is not to look like campground professionals. The goal is to get parked, stay married and reach the camp chairs before dark.
